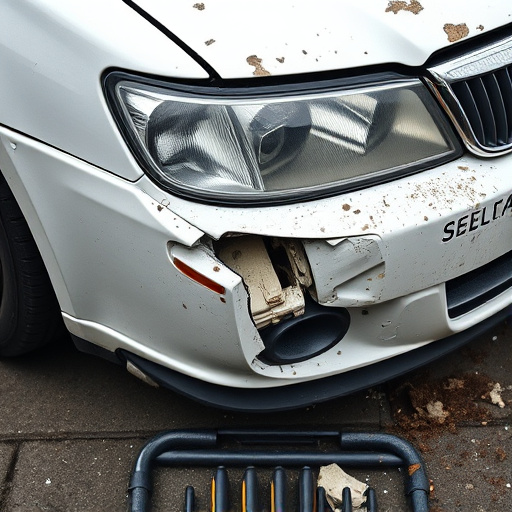

Inspect pearl finish repairs under natural light for color variations and uneven application using a magnifying glass. Address inconsistencies through surface preparation, primer selection, filling gaps, sanding, and reapplication for a seamless matte finish comparable to professional vehicle body repair. Alternatively, DIY enthusiasts can use these steps to achieve uniform results in matte finish collision repair.
Discover how to tackle inconsistent pearl finish repairs and achieve a flawless, uniform look. This guide delves into the common causes behind uneven application in matte finish collision repair, offering practical tips for assessing and addressing discrepancies. From identifying visual cues to mastering touch-up techniques, you’ll learn essential skills to ensure your pearl finish is as vibrant and seamless as the original.
- Assess Inconsistencies in Pearl Finish
- Understand Causes of Uneven Application
- Techniques for Touching Up Discrepancies
Assess Inconsistencies in Pearl Finish
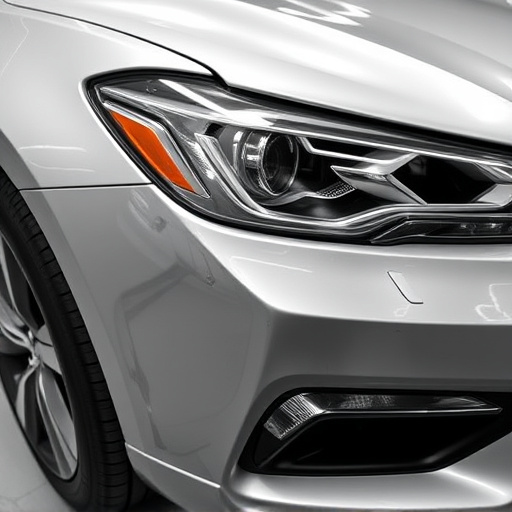
When evaluating whether your pearl finish repair is consistent, it’s crucial to closely inspect the work from various angles and distances. Inconsistencies in a pearl finish can manifest as varying shades of color, uneven application, or patches that look distinctly different from the surrounding area. These disparities often occur due to issues during the repair process, such as differing lighting conditions, incomplete drying time, or improper blending techniques.
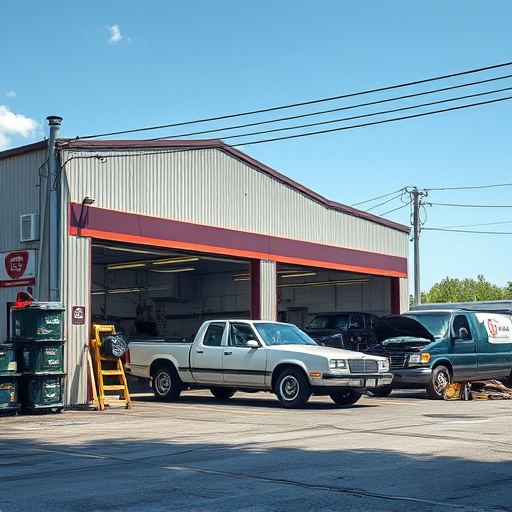
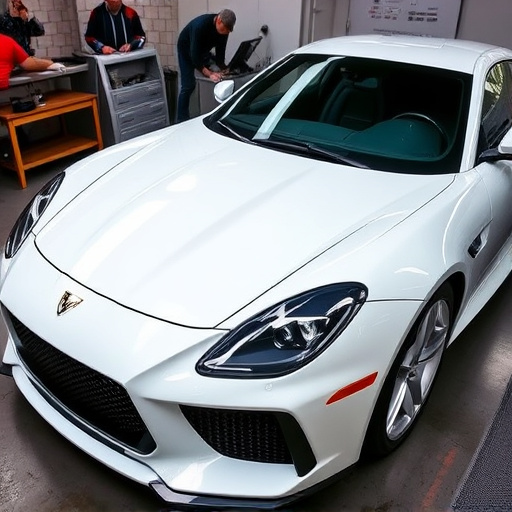
To identify these inconsistencies, take your vehicle to a well-lit area and examine it under natural light. Walk around your car, looking for any spots that appear patchy, glossy, or simply don’t match the surrounding finish. Using a magnifying glass can help you spot finer details. If noticeable variations exist, it’s a sign that further attention is required to ensure a seamless, professional-looking repair, akin to achieving a flawless vehicle body repair or car restoration.
Understand Causes of Uneven Application
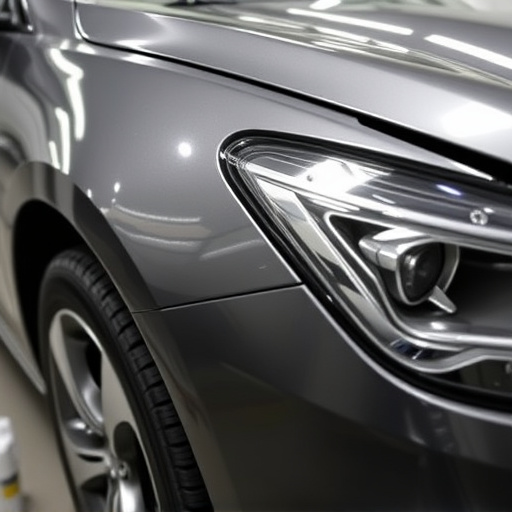
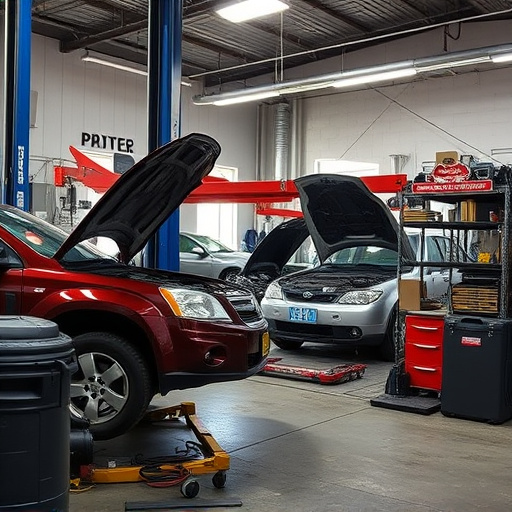
Uneven application of pearl finish during collision repair can be frustrating and detract from the final result. It’s important to understand that several factors contribute to this issue. One common cause is surface preparation; if the car’s panel isn’t thoroughly cleaned, sanded, and primed before applying the pearl coat, it can lead to inconsistent adhesion and color dispersion.
Another reason could be the type of paint used—pearl finishes are known for their complexity, requiring specific techniques and products to achieve a seamless look. Using the wrong base coats or not following recommended application procedures can result in visible variations in the final finish. Moreover, environmental conditions like temperature and humidity at the time of repair play a role, as these factors affect paint drying times and quality. Knowing these potential causes will help you choose the right car repair services (auto repair near me) for pearl finish collision repair or guide your DIY efforts to achieve a more consistent matte finish (car paint repair).
Techniques for Touching Up Discrepancies
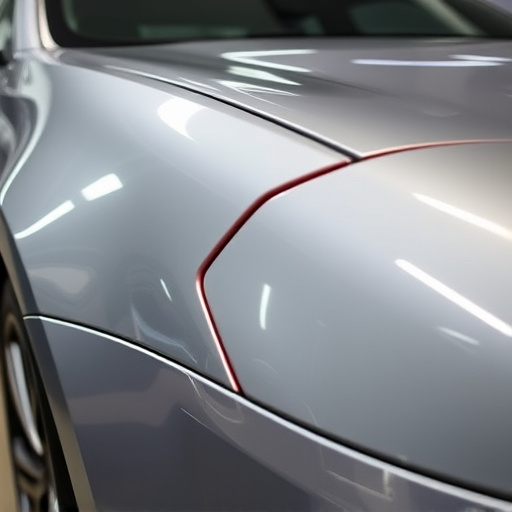
When attempting a pearl finish repair, achieving consistency can be challenging due to the intricate nature of the material. To touch up discrepancies and create a seamless look, consider employing these techniques. First, use a fine-grit sandpaper to lightly buff any uneven areas, ensuring you match the surrounding surface texture. This step is crucial in preparing the surface for the next layer of paint, allowing for better adhesion.
Next, apply a thin coat of primer specifically designed for pearl or metallic finishes. Allow it to dry completely, then use a fine brush to carefully fill in any gaps or imperfections with automotive filler. Once the filler has set, gently sand again to create a smooth base before applying another layer of primer and finally, your chosen pearl finish. This meticulous process ensures that even minor discrepancies are minimized, resulting in a more uniform and professional car body restoration.
If your pearl finish repair still appears inconsistent after following these steps, it may be time to reconsider your approach. Ensure a meticulous assessment of the discrepancies and understand that uneven application can stem from various factors, including surface preparation and paint quality. By mastering techniques for touching up differences, you can achieve a more uniform matte finish collision repair. Remember, practice makes perfect, so keep refining your skills until you’re satisfied with the results.